
Report Preview
Parent page: ReportGenerator Dialogs
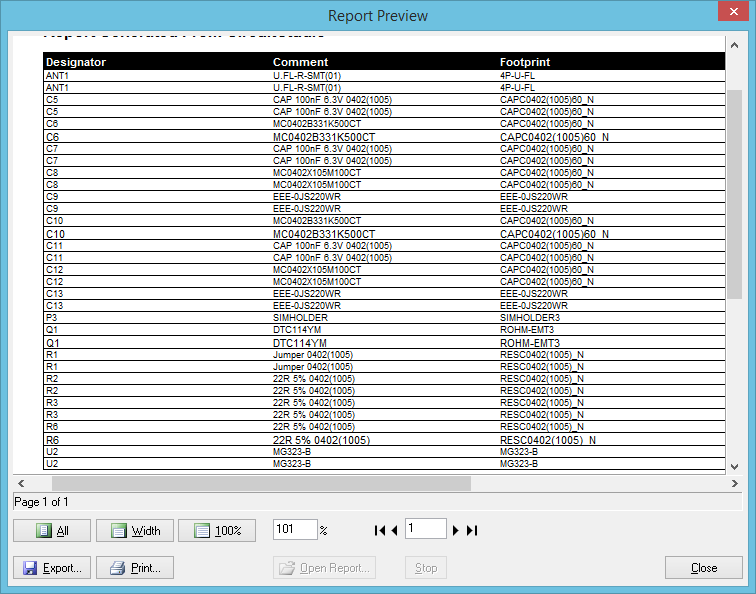
The Report Preview dialog, loaded with a generated report from source design content.
Summary
This dialog allows the designer to preview a generated report, before ultimately exporting it to one of various supported formats, or printing it directly.
Access
The dialog can be accessed wherever an aspect of the software can generate a report that offers an intermediate preview, rather than a directly generated report. Some examples of access include:
- Right-clicking in a region of the PCB panel and choosing the Report command from the context menu when, for example, browsing loaded nets and components.
- Using the Report button (or Report command on the right-click menu), when browsing design rules in the PCB Rules and Constraints Editor dialog.
- Right-clicking in a region of the PCB Rules And Violations panel and choosing the Report command from the context menu.
Options/Controls
- Preview Window - this main region of the dialog presents the preview of the generated report. The report can be scrutinized using the various controls below the window, and on the right-click menu.
- Page Summary - reflects the current page being viewed, with an indication of the total number of pages in the loaded report.
- All - click this button to have the page sized to fit within the available preview window. As you resize the dialog (and therefore the preview window), the page will resize to stay fully visible.
- Width - click this button to have the page sized to fit within the horizontal extents of the available preview window. As you resize the dialog (and therefore the preview window), the page will resize to stay fully visible across its entire width.
- 100% - click this button to have the page set to full size (100%).
- Zoom Control - use this field to compare the report at different sizes, effectively zooming in, or out. Full size is 100%. Enter a smaller value than this to see a reduced-scale report. Enter a larger value to see an enlarged-scale report.
- Page Navigation Controls - this cluster of controls collectively provide another means of navigating the pages of the report. The controls allow you to jump to the first, previous, next and last pages in the document respectively. Alternatively, you can enter the page number directly in the central field, and press Enter.
- Export - click this button to access the Export Report From Project dialog. Use this dialog to define where, and under what name, the report is to be saved, and choosing the export format. The following formats are supported:
- Microsoft Excel Worksheet (*.xls).
- Adobe PDF (*.pdf).
- Rich Text Format (RTF) (*.rtf).
- Web Page (*.htm; *.html).
- Web Layer (CSS) (*.htm; *.html).
- JPEG Image File (*.jpg).
- Window Bitmap File (*.bmp).
- TIFF Image File (*.tif).
- Print - click this button to print the report. The standard Print dialog will appear, from where you can nominate page range and number of copies, or drill further into the more advanced properties of your chosen printing device.
- Open Report - click this button to open a generated report, in the applicable external application.
- Stop - click this button to forcibly stop export of the report.
Right-Click Menu
The following commands are available on the dialogs right-click context menu:
- Print - use this command to print the report.
- Export - use this command to export the report into a chosen format.
- Copy - use this command to copy the active page of the report to the Windows Clipboard, from where it can be pasted into an external application as required.
- Page Width - use this command to have the page sized to fit within the horizontal extents of the available preview window.
- Whole Page - use this command to have the page sized to fit within the available preview window.
- Zoom In - use this command to zoom in on the report page.
- Zoom Out - use this command to zoom out from the report page.